Once again, I'll be using Photoshop, but you can do similar things in the free program, GIMP if you don't have PS.
First, open up the image you want to make into a stamp. It's good to have a good resolution image that's fairly large, if you intend on making stamps of various sizes.
 A good stamp has high contrast between black & white, and a clear definition around the image (i.e. no backgrounds!)
Now simply go to Edit -> Define Brush Preset and click okay. You can name your brush if you want.

That's it! Now let's go get that stamp/brush! (And open up a new document to "stamp on!")

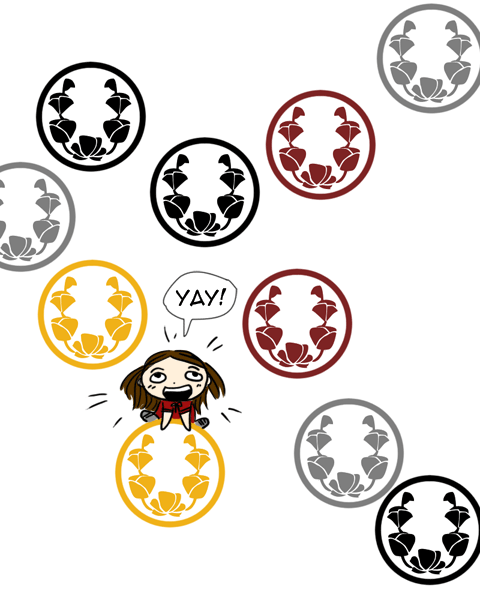
Now just stamp away, in whatever color you like!

I turned the mons I designed earlier into stamps, so they are ready for instant use!

Try it out, let me know how it goes!


Now that I have adobe... I'll be making a cute stamp of our "wedding logo"! I feel so accomplished already... and I haven't even started! Thanks again :)
ReplyDeleteyayyy! You go, Gator! you'll be a pro in no time, i'm sure!
ReplyDeleteThank yoou
ReplyDelete